24” wing
I started this project simply to have a small crash-resistant plane that I could fly in my front yard. For the first time, I looked into flying wings for the design. All I knew was that they could be more efficient and were a little faster. After a bit of research, I learned that they had quite a few advantages over traditional plane designs. Stepped KF airfoils also offer quite a few advantages over traditional airfoils. I’ll discuss what I learned and give a quick build log on my 24” flying wing.
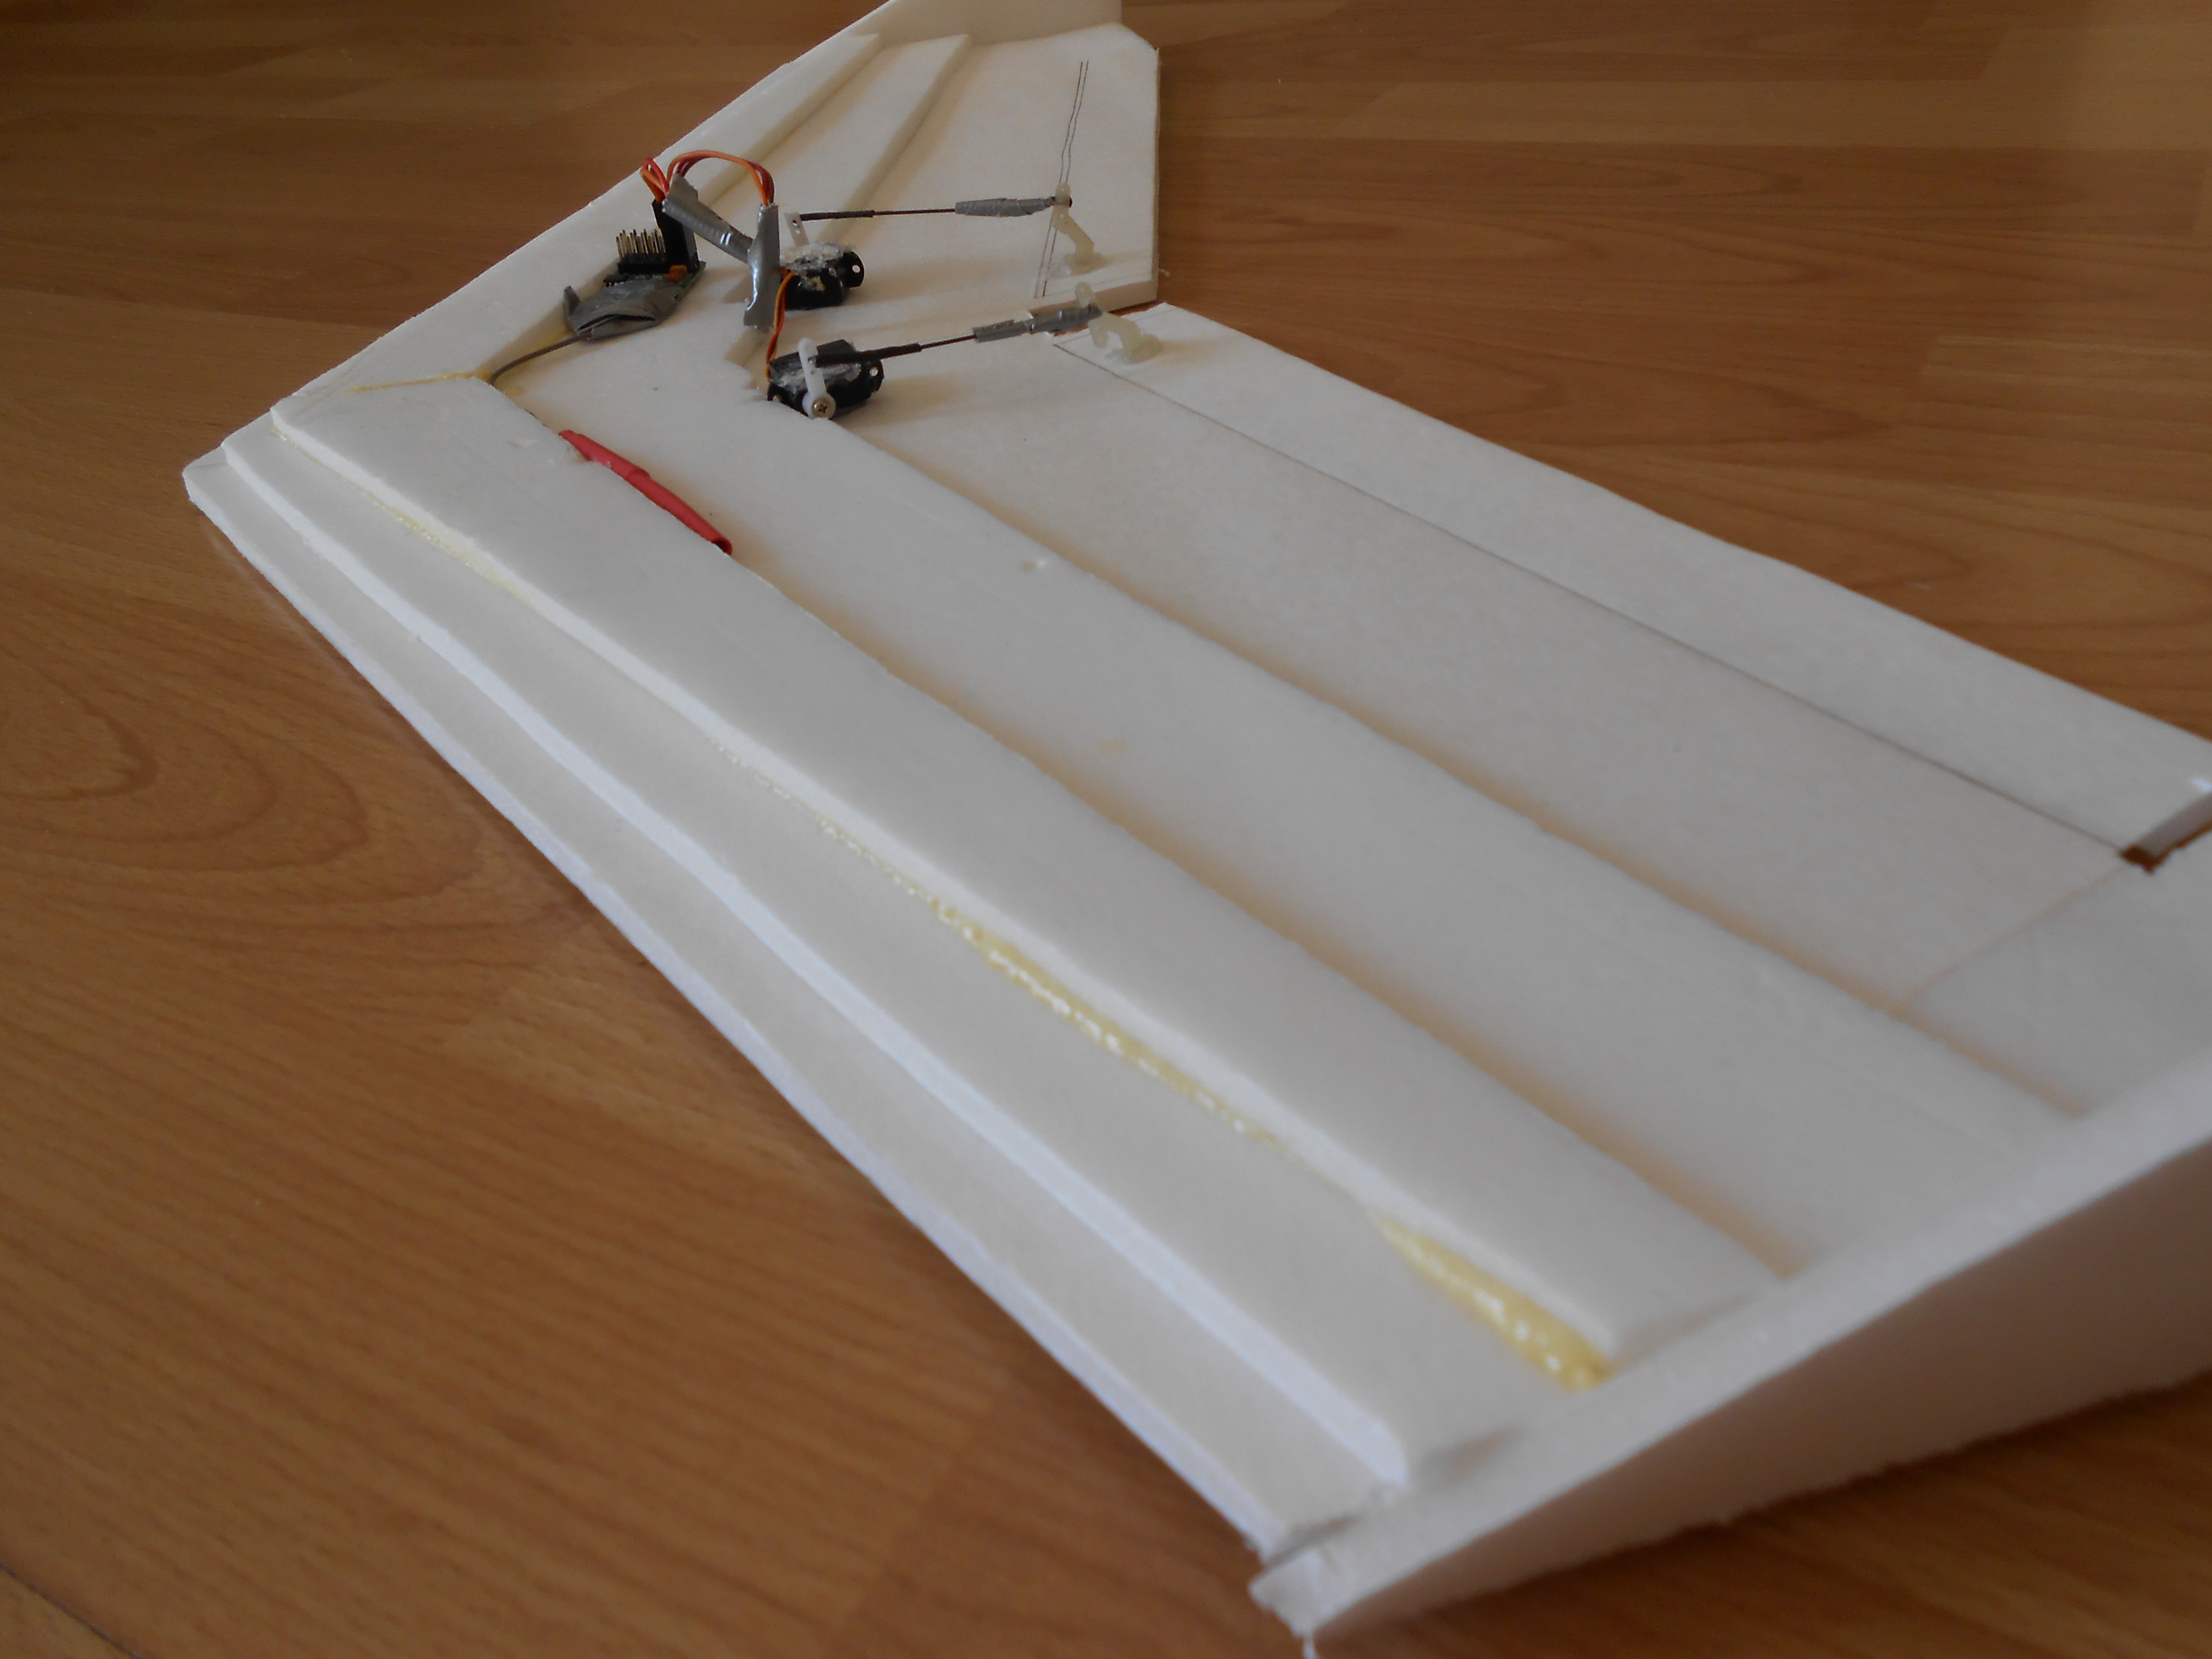
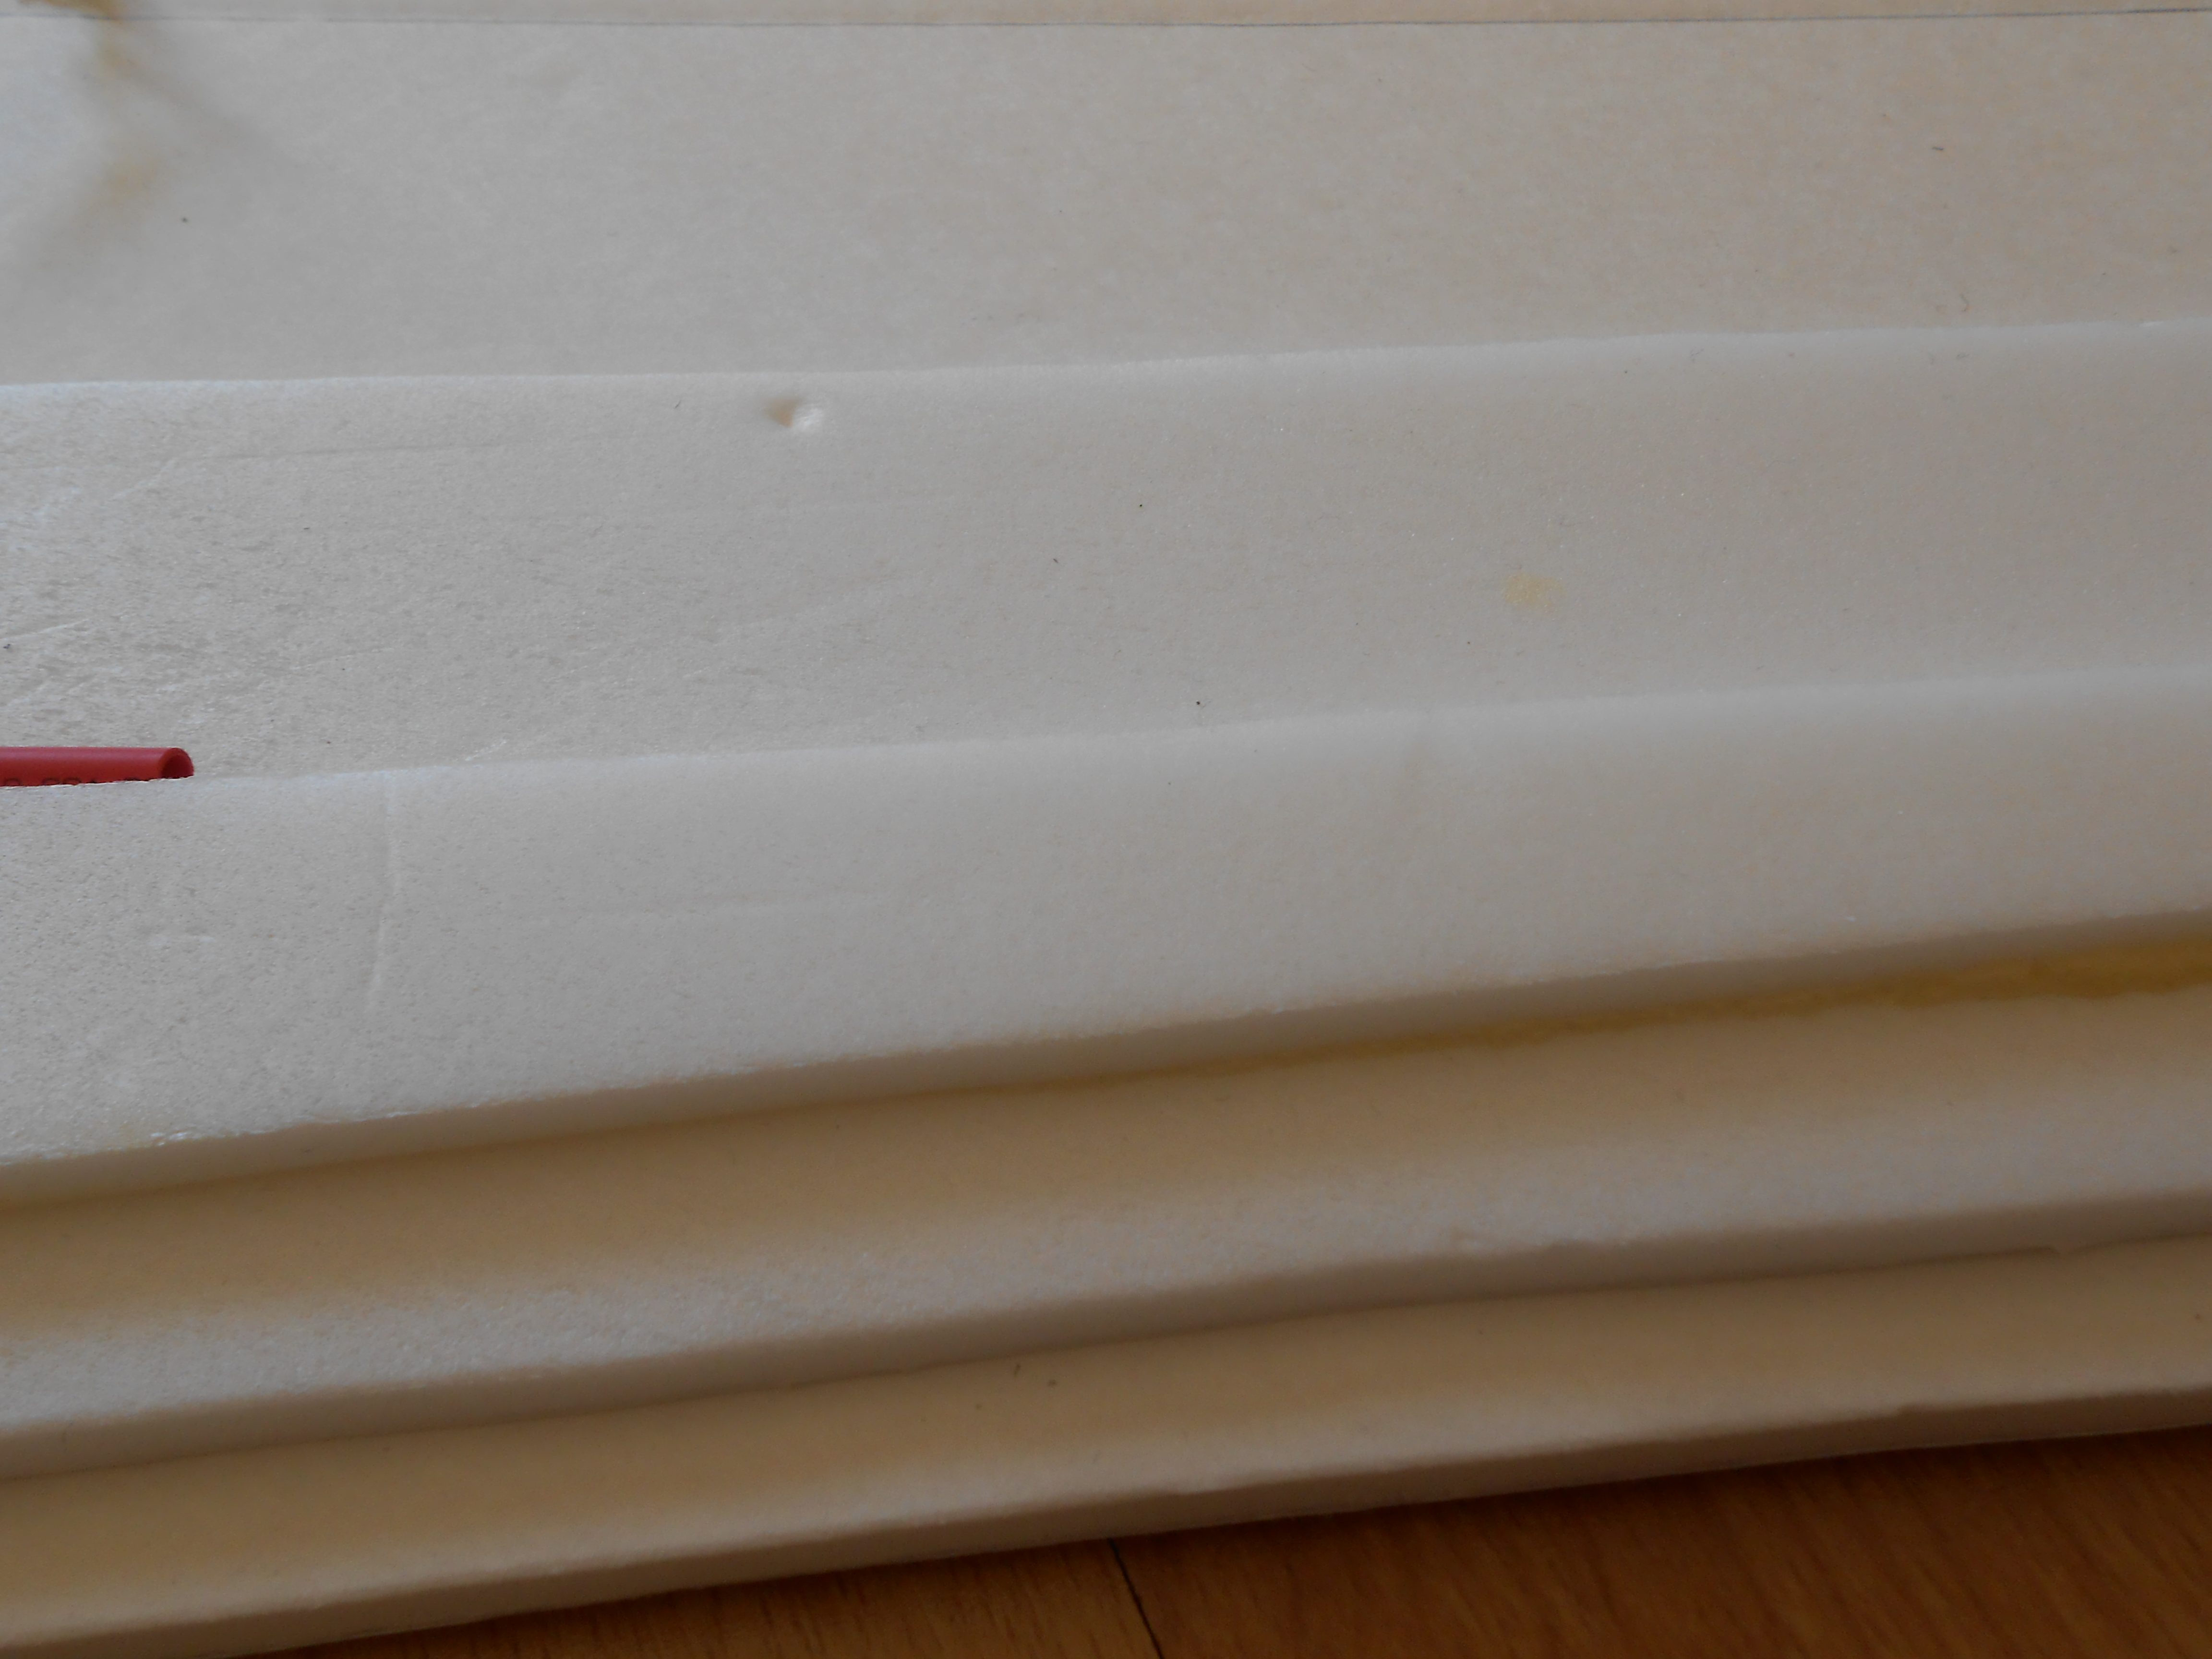
Notice how the steps don’t reach all the way to the front of the wing
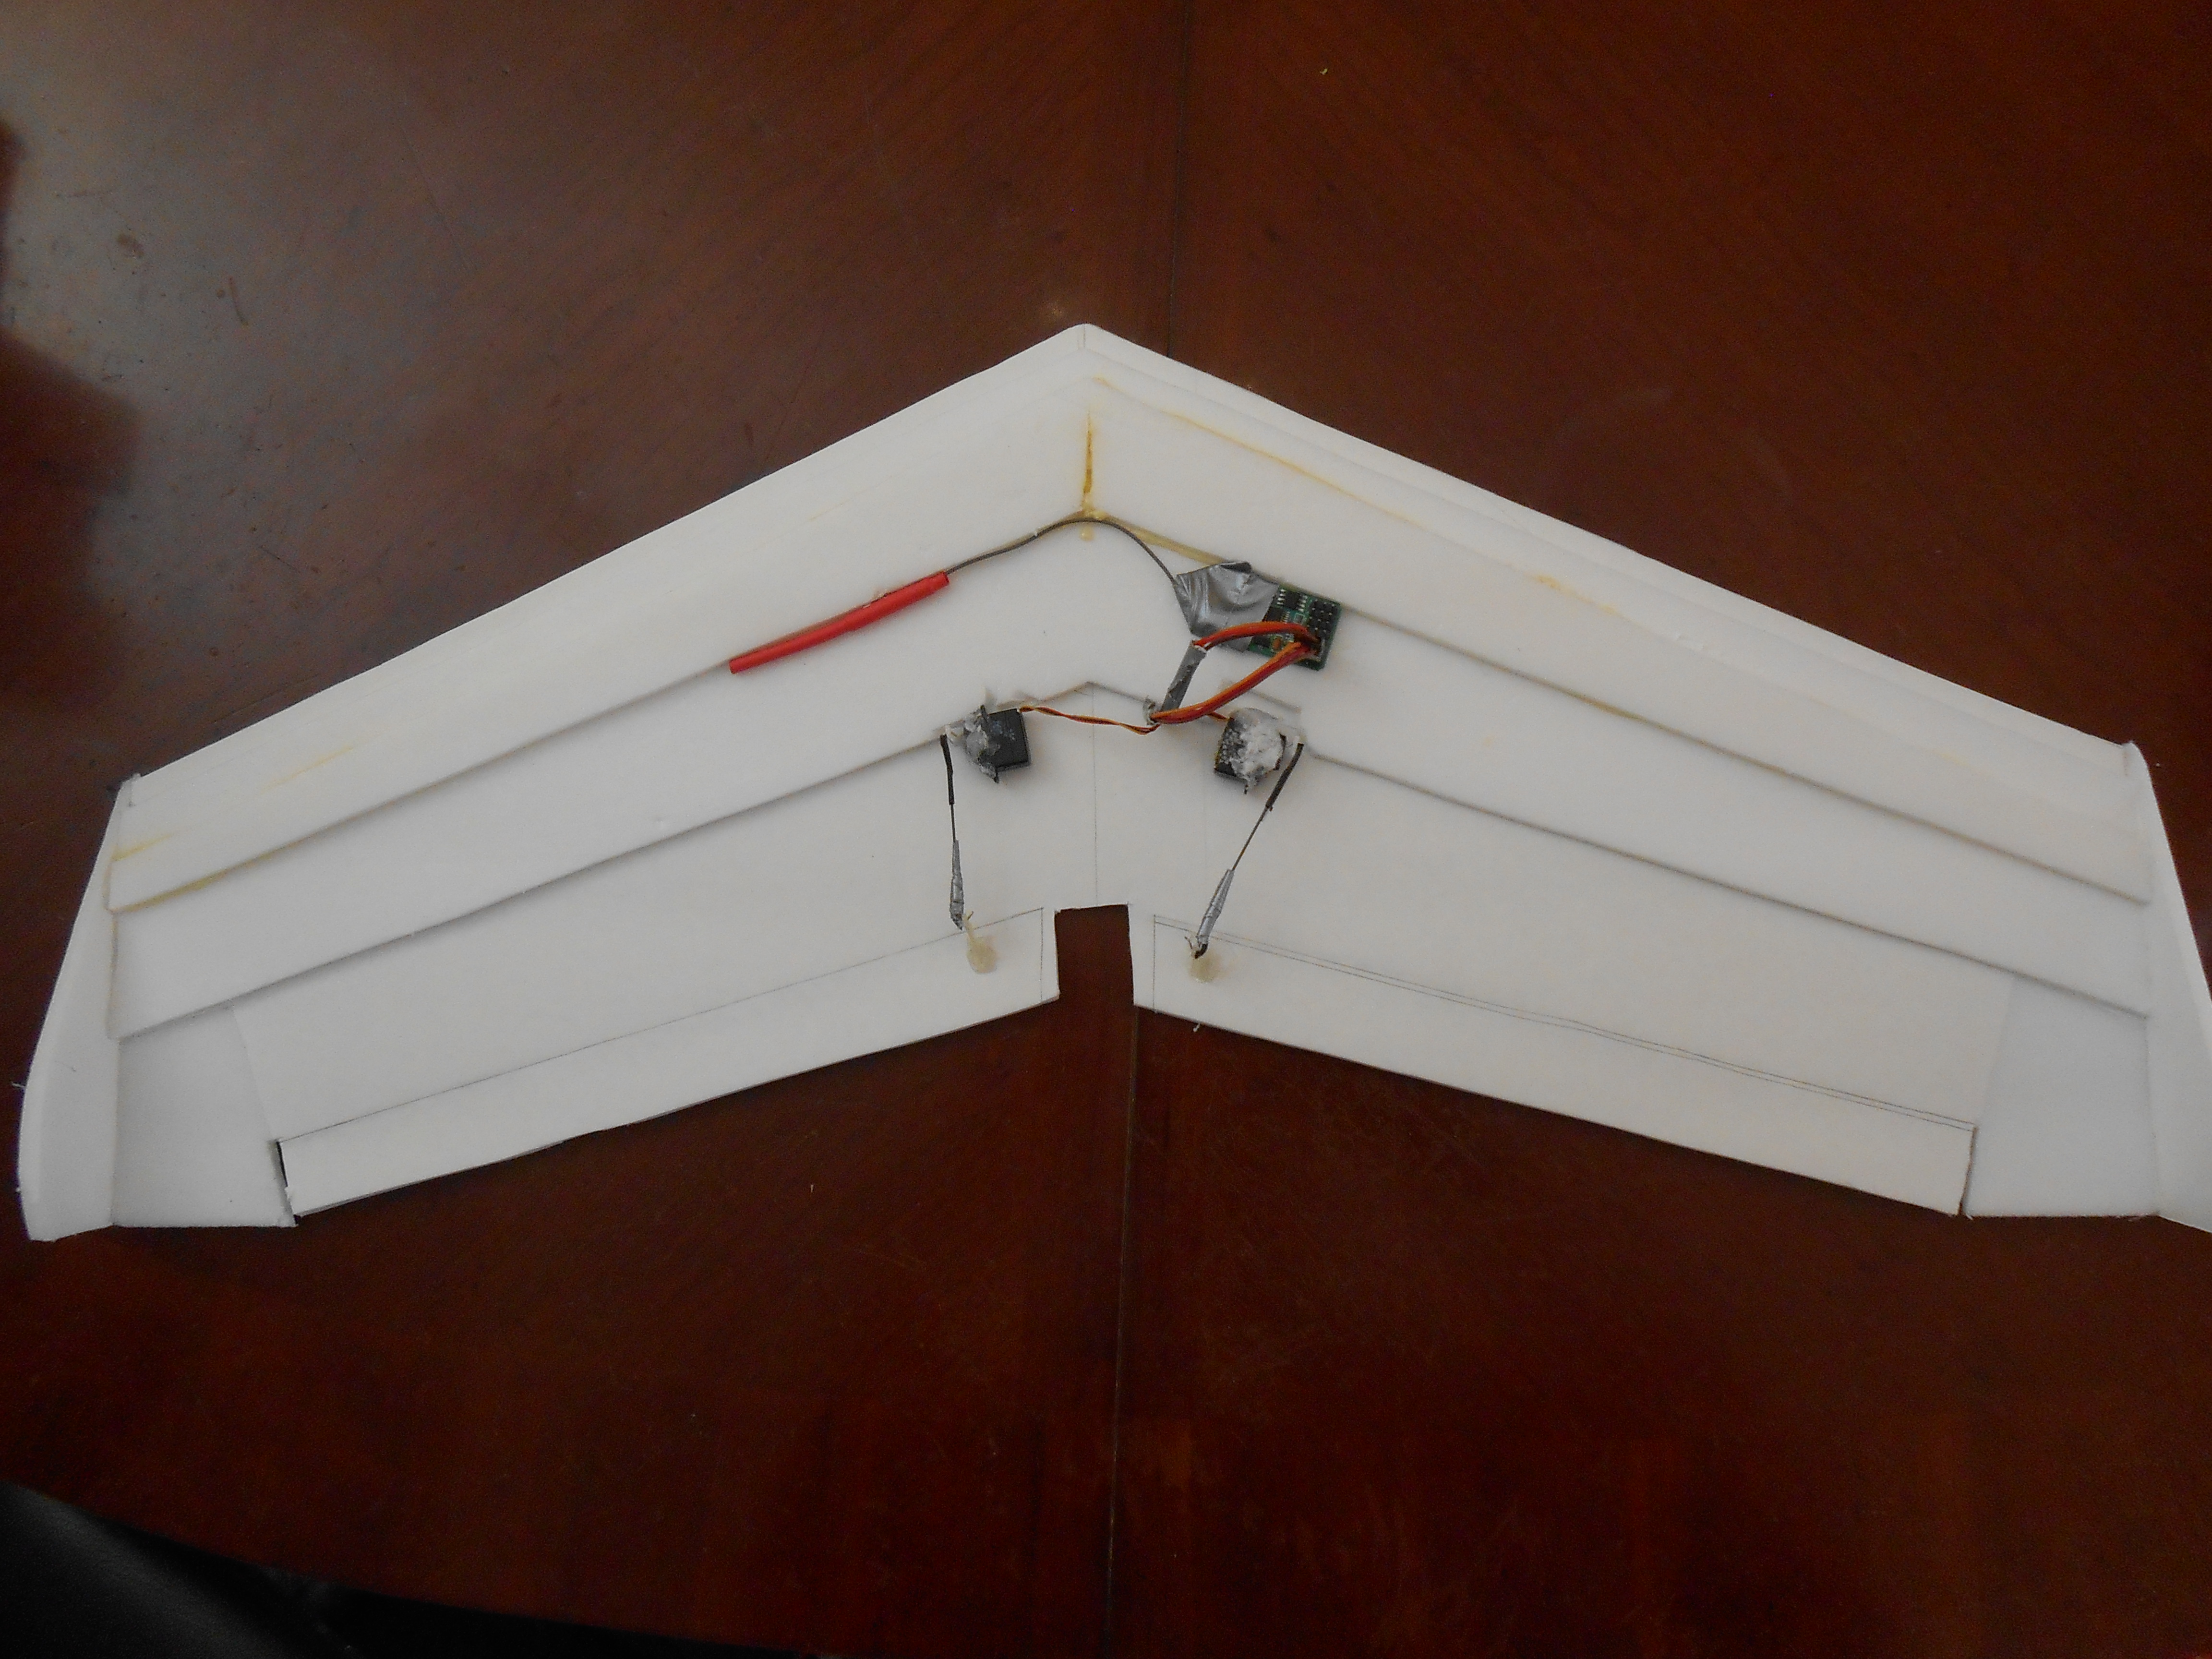
I wanted to keep the wing as light as possible. I had some 2.5g servos lying around, so I soldered standard PWM cables to the wires that came stock with mini JST connectors with signal, ground, power from left to right. Soldering proved to be quite a challenge, as micro servos have extremely small wire. I don’t know how much current these 2.5g servos draw, but it can’t be more than .25 amps. To get the insulation off I just clamped down on the ends of the wire with my fingernails and tugged it loose. This works quite well.
Mounting the receiver just took a little hot glue:
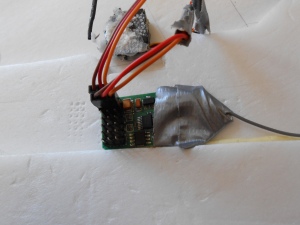
I just hot-glued the receiver to the 2nd step. It’s placement shouldn’t affect the wing aerodynamically, as it is rather small.
Also glued in the ailerons. I never got a chance to take pictures of the motor and battery after they were mounted, but those steps are self-explanatory. I made it a tractor, because I didn’t want to have to deal with CG issues if I moved the motor to the back for a pusher configuration.
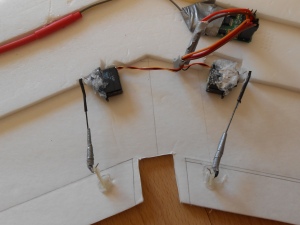
The aileron servos should be squared up, perpendicular to the control surface. Mine aren’t, because I was in a hurry. If you do ’em right, you’ll have perfect throw on both ailerons. I had to adjust them a little with my radio.
I never thought that sweep angle on a wing could be as intricate of a subject as it is- There are many factors that contribute to the performance of the wing to consider. The most important consideration is drag- the sharper the angle, the less drag, which results in a faster wing. I went with a mild 140 degrees for a little more drag to slow it down enough to fly in my front yard, which is rather small.
With a protractor I drew a 140 degree angle on a full sheet of foam board. I wanted my overall span to be 24” but I didn’t know what wing chord to use. For aesthetics’ sake, I chose 10”. In the future, I’ll just wing it (pun intended)- after two very different chords I found no significant change in performance.
Notice how the steps don’t reach all the way to the front of the wing
The first KF step is 1/2 of the entire wing. I just laid it down on the remainder of the sheet of foam board and traced- then I split it in half and glued it onto the wing, offset 1/4” inch. I don’t know why exactly I did this, but I felt that a gradual sweep was needed- maybe I felt it necessary to emulate the profile of a traditional airfoil- what I did know was that there was nothing aerodynamically responsible about having a wall of foam before the KF step.
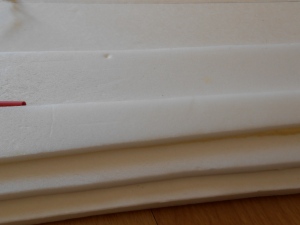
3 steps straddled about 1/2” per step
After putting it all together, I did a few test taxis around my driveway. It lasted 5 flights before I accidentally landed it into a tree.
RIP, 24” flying wing
24” wing
Use the pictures for reference if you want to build one!